Remember the 3D sketch and the in-progress picture of the indoor therapy pool at the Woodinville project? (Click here to jump to the original post.) Here is a photo of the pool, finished and ready for fun!

We designed a curved aluminum plate suspended by rods to support the Surehands track that carries the clients' daughter in a sling from her bed, to the bathroom, and into the pool. The plate was powder-coated white to match the Surehands track and kept minimal in scale to maintain the open feeling of the room. Our project foreman took a preview ride to torture-test it and gave it two thumbs-up for sturdiness.
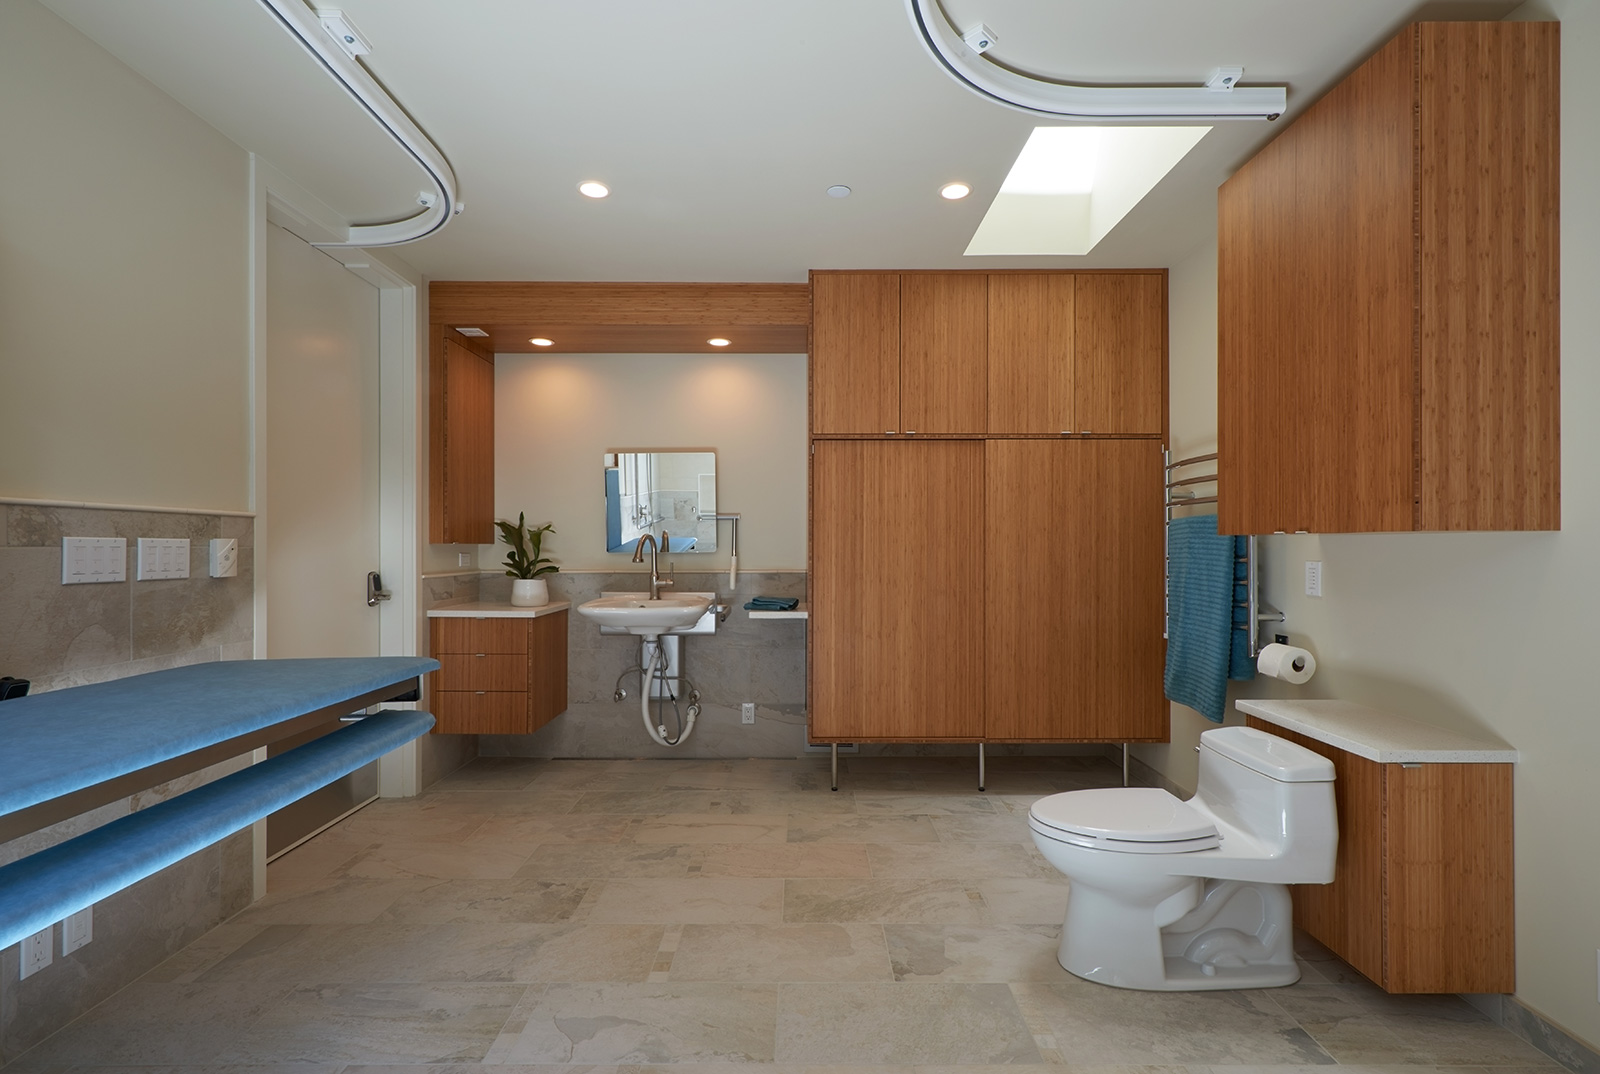
This bathroom was designed to be utilized by the daughter and her caretakers as well as those enjoying the adjacent pool.
The bathroom is adjacent to the pool room, and the entire floor is designed to be both slip-resistant and to drain when wet. The changing table, sink, and tub are all height-adjustable. Storage was carefully planned to be within the caretaker's reach at each station. Here, you can see the overhead tracks above the toilet and the changing table - which continues through the door and over to the pool as seen in the first photo.

The bathroom features an adjustable-height tub and open shower area washed in natural light.
Our design philosophy throughout the house was that everyone should be able to go everywhere in the house, which means that the master bathroom is sized for wheelchair maneuverability even though the primary users of this room do not use wheelchairs.

The curbless shower and digital thermostatic controls in the master bathroom are added safety features.
The theme of bright, airy spaces is continued throughout the house, including the master shower where the glass was partially etched for privacy while maintaining clear glass at the top and bottom for openness.

The master shower's controls are positioned so that the temperature can be adjusted without being under the spray (to avoid cold or hot water hitting the body until the desired temperature is reached.)
Line of sight from the kitchen to the playroom allows the family to be together while involved in separate activities. Knee-space and maneuverability for wheelchair-users was incorporated into the design.

The naturally-lit playroom interiors, designed Lucy Johnson Interior Design, received a National Kitchen and Bath Association Design Award for design excellence.
Project Team:
- Architect ROM architecture studio
- Contractor DLH, Inc.
- Interior Designer Lucy Johnson Interior Design
- Accessibility Consultant Karen Braitmayer FAIA
- Photographer Dale Lang