Resources

Low-maintenance shower pans

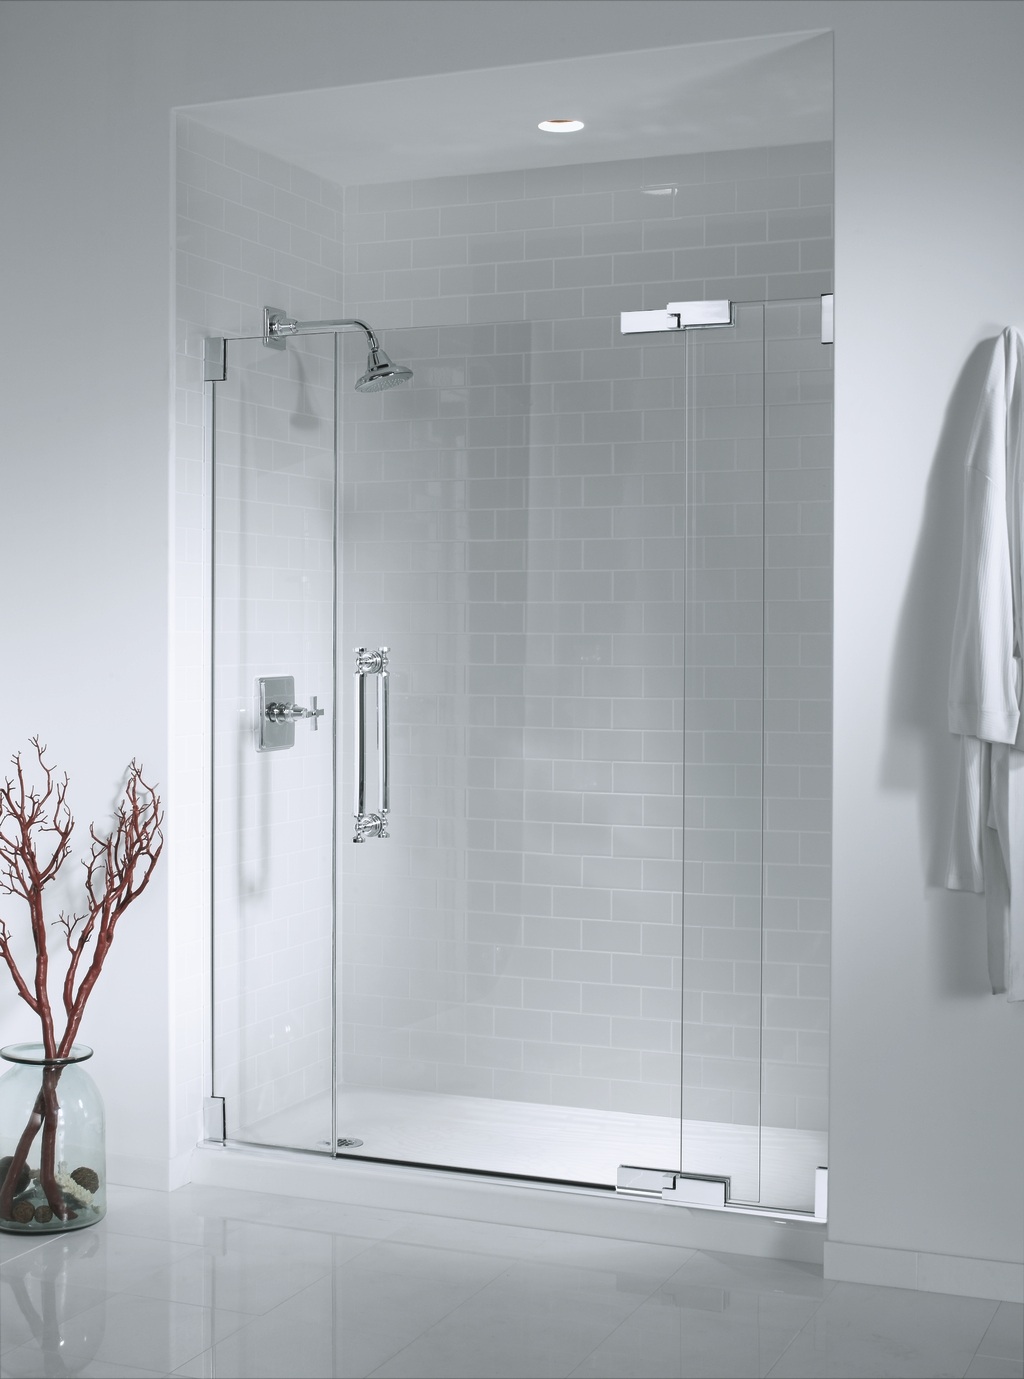
Want an elegant-looking shower without the maintenance of a tile-and-grout shower floor? Acrylic and solid-surface shower pans might be the answer. Here is a collection of images to help you imagine the possibilities.   

PRODUCTS:

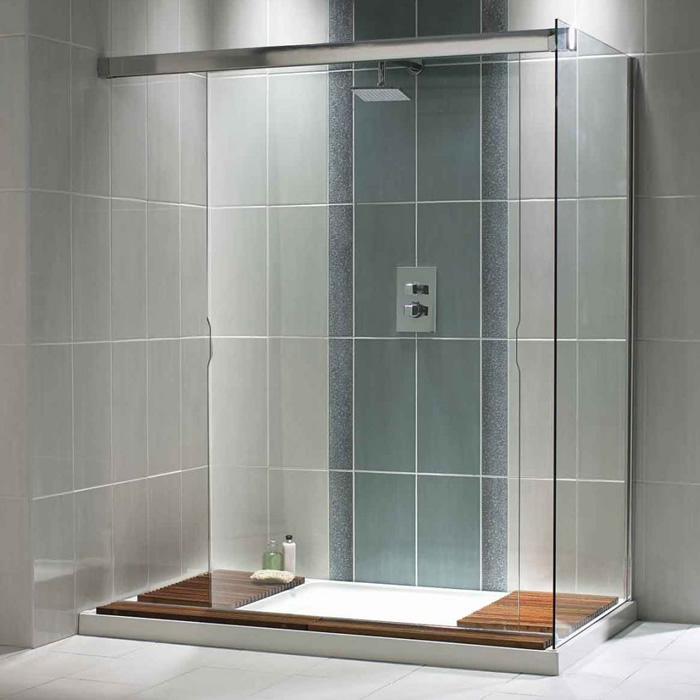
B-Zone by BluBleu - Corian shower trays that can be installed recessed, semi-recessed, or on the floor. Grooves for stationary glass panels can be fabricated into the shower pan material for a super-clean look.


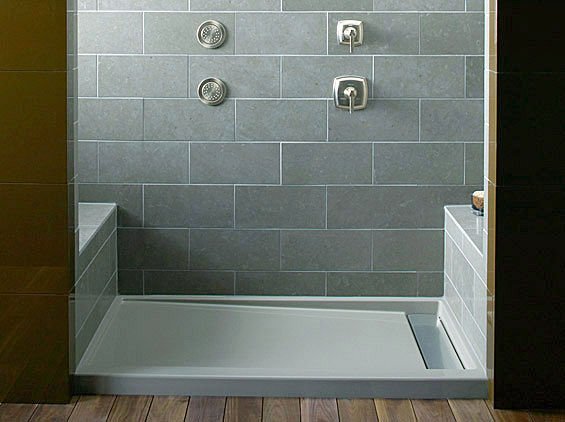
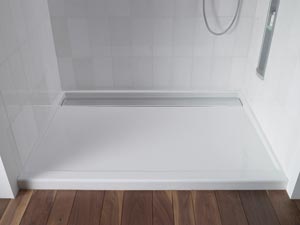
Groove by Kohler - Acrylic shower pans (available in 12 colors) with a drain in a recessed trench one side of the pan, which can be hidden with an aluminum or teak cover.  


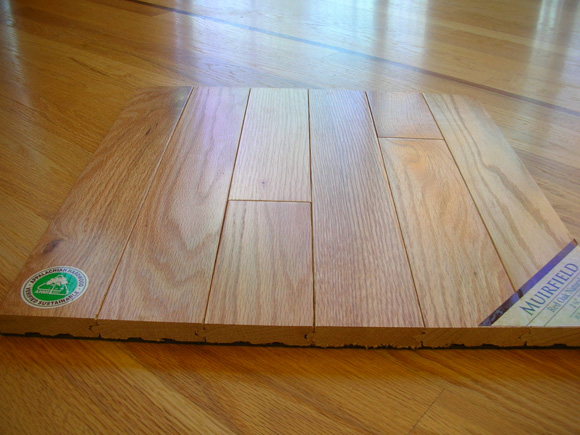
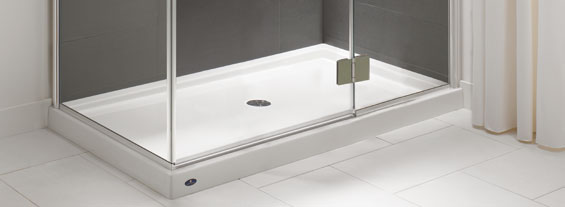
Cast iron shower pans — (Salient shown) by Kohler


Zen by Neptune


IMAGE SOURCES:  

BluBleu 

Kohler

Neptune

Solution People Inc.

Modern Interior, Architecture, & Furniture Design

Wood Flooring - Decision Factors

What are the main decision factors when choosing between pre-finished wood flooring, engineered wood flooring, and solid wood flooring that is finished in place?

Appearance

Microbevels
Pre-finished wood flooring typically has microbevels, which are little v-shaped notches between the planks. Some homeowners think that is attractive and desirable - accentuating the length of a room or creating the illusion of a different proportion. Others think that the grooves would look too "busy" and be a nuisance to clean.

Engineered wood flooring may or may not have microbevels, depending on the brand, style, etc.


Pre-finished solid oak flooring with microbevels displayed on top of a field-finished oak floor without microbevels.


Visual Authenticity
Some brands of engineered wood flooring use one wide plank of flooring to simulate several narrower planks. What is referred to as a "1-strip piece" will be a single plank that is a single strip. A "2-strip piece" will be a single plank made to look like two strips, etc. If the product has microbevels, this is very noticeable. If it is smooth, the seams are still visible, but less noticeable.
Transitions

If you are putting new wood flooring next to existing wood flooring, the thickness of the materials may differ, especially between engineered and older wood flooring. If you do not want to have a height difference between two areas, you will either have to have a transition (such as a stained door sill) or build up the subfloor underneath the new flooring to match the height. If your primary motivation was saving money, this added expense should be factored into your decision.

Maintenance
Pre-finished has an aluminum oxide finish that cannot be site-finished and does not have a real "clear finish" due to the aluminum suspended in the finish. If you have large pets with claws, lots of animals, heavy traffic, routinely wear shoes in the house, or are generally hard on your floor, this should not be your first choice.

Engineered allows you to sand and refinish the floor, but how many times depends on the thickness of the wear layer. Look for the thickest wear layer available. There are companies that have wear layers nearly as thick as solid wood flooring. Owens has a line with a 5mm (approx. 3/16") wear layer. For comparison, 3/4" solid flooring has a 5/16" wear layer above the tongue and groove. This is the amount that is sandable, however you cannot sand all the way down to the tongue and groove without splintering and exposing nails. So, in reality, a 3/4" solid product has about a 6mm (1/4") wear layer which is just about equal to the Owens 5mm wear layer (which can be sanded until there is no wear layer left).


Wear layer of solid unfinished oak vs. engineered unfinished oak

Installation Options

Field-finished

  • usually nailed in place, concealed within the tongue and groove joint

Pre-finished or Engineered

  • nail-down, 
  • glue-down, or 
  • "floating" (boards are separated from the subfloor by a sheet material and not physically attached to the subfloor) 


Advantages

Field-finished

  • more predictable longevity (and therefore less likely to end up in a landfill) 
  • is able to be refinished many times, with certainty 
  • more familiar to floor refinishers (been around forever) 
  • unlimited choice of stain colors, which can be swatched on the flooring after it is installed 
  • your choice of finish (type, sheen, brand, number of coats) 
  • best for period-appropriate installations (top-nailed, inlays, etc.) 

Pre-finished

  • less mess and smell during installation 
  • faster start-to-finish install time 
  • may be less expensive than field-finished, depending on species, width, and type of installation 
  • Engineered 
  • more expensive and/or exotic species without a significant price increase 
  • some brands/lines are suitable for installation over radiant floors (check www.kahrs.com for options) 

To learn more...  I recommend Jeff Lane of Lane Hardwood Floors, one of the most talented and knowledgable hardwood flooring vendors and installers here in Seattle.

The Client's Time Investment

Once our working relationship is established (see GETTING THE PROJECT STARTED), the real fun begins.

“How long will the design process take?”
As a rule of thumb, the design process takes approximately the same amount of time as building the project. In other words, a project that requires 6 months to build requires 6 months to design. This does not necessarilyinclude permitting (which depends on many variables).

“How much time will you need me during design?”

Meetings  We will need to meet to review design drawings, preferably in person. This is especially important for the first design meeting and for major design milestones. These meetings are usually 1-1.5 hours long.

Most clients find it helpful to meet at their home, so that we have a visual reference of size, configuration, etc. of the spaces being considered. Sometimes it is easier to meet at your place of work, or at a nearby restaurant or coffee shop, especially if the project is a new home or is located far away from your workplace.

Homework  You will have homework, including private discussions about the drawings and ideas. You may find it helpful to continue to look for inspiration photos to illustrate thoughts you have as the design develops, and you will want to spend time researching fixtures and appliances.

Showroom Visits  Together, we will typically visit a plumbing showroom and lighting showroom. These visits are usually 1.5-3 hours long.

We may also visit tile and flooring showrooms. This is something that may be delegated to one lead “decision-maker”, and we may follow up (either separately or together) at additional tile showrooms. Ultimately, we will meet at your home to mix-and-match samples and narrow choices. The first tile showroom visit can be 1.5-3 hours, depending on the project. Subsequent visits and meetings vary with each project but are usually significantly shorter.

Tally  Many of my clients have said that they dedicated 3-4 hours per week to their project (some weeks more and some less, averaging 3-4 hours per week overall). Your decision-making abilities, both individually and jointly, are the biggest factor affecting the time investment required.